Start with the fabric and machine manual
Needle and thread choices work together with the fabric. Before choosing either, identify whether your material is woven or knitted, whether it is light or heavy, and whether it stretches. A stable, medium-weight woven scrap is a useful starting point for learning because it is easier to handle than a very fine or stretchy fabric.
Check which needle system your sewing machine accepts. Needles that look similar may not fit or operate correctly in the same machine. Your manual is the first reference for compatibility, insertion direction and recommended sizes. Do not force a needle into the clamp or use one that does not match the required system.
Understand needle type and size
Needle type describes the point and construction intended for particular materials or tasks. A universal needle is a common starting point for many ordinary woven practice fabrics, while knitted or specialised materials may need a different type. Treat that as a starting point for a test, rather than a promise that one needle will suit every fabric.
Needle size relates to its thickness. Within a compatible needle range, lighter fabrics generally need finer needles than heavier fabrics. The needle also needs to accommodate the thread. Follow the needle maker’s guidance and your machine manual instead of relying on a single size for every project.
Match the thread and fit the needle safely
Use thread intended for machine sewing and suited to the fabric and task. For general practice on a stable woven fabric, an ordinary all-purpose sewing thread is often a practical starting point. Very thick decorative thread or delicate specialist thread can require different needles and settings. Keep the first sample simple.
Switch off and unplug the machine before replacing a needle. Follow the manual to remove the old needle, orient the new one correctly, insert it fully and secure the clamp. Use an undamaged needle. If a needle is bent, has struck a hard object or produces unusual problems, stop and replace it using the same safe procedure.
Use a sample to confirm the combination
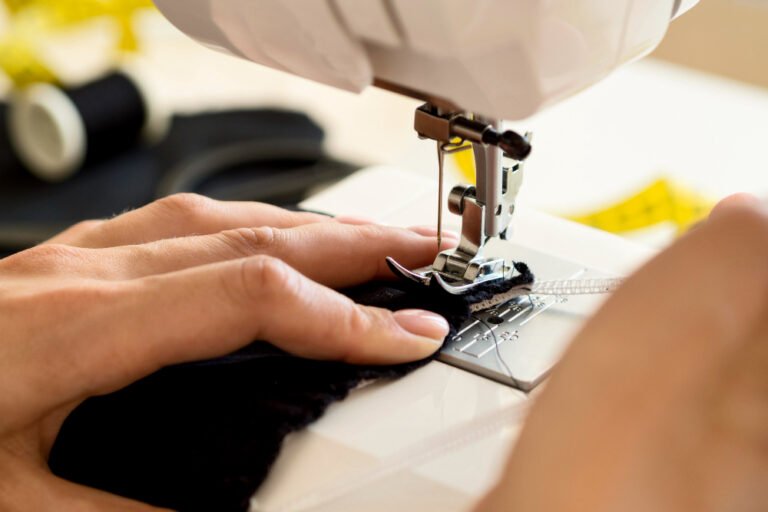
Thread the machine and bobbin exactly as instructed. Place two layers of your chosen practice fabric under the presser foot, select a basic straight stitch and sew slowly. Let the machine feed the fabric without pulling. Keep hands away from the needle, and stop immediately if the needle hits the plate or you hear an unusual sound.
Inspect both sides of the sample. Look for evenly formed stitches, a seam that lies reasonably flat and fabric without large holes or damage. If the result is poor, check needle installation and threading first. Change one thing at a time and label useful samples so you can repeat a successful combination later.